How to Find Studs in a Wall Without a Stud Finder (6 Reliable Methods)
Quick Answer
You can find studs without a stud finder using a few household tricks: slide a strong magnet along the wall until it grabs a drywall screw or nail, then confirm by measuring 16 inches to the next one. Tapping, probing near outlets, and checking baseboard nail holes all work as backup methods. For anything heavy, a dedicated stud finder is faster and far more reliable.
Why This Happens
Studs are the vertical framing members inside your wall. Drywall, plaster, and paneling are attached to them, so studs are the only part of a wall designed to carry weight. The problem is that once the wall is finished and painted, the studs disappear completely.
A few things make the search harder than it looks:
- Drywall hides everything. A half-inch of gypsum board plus texture and paint is enough to mask a 1.5-inch-wide piece of lumber.
- Stud spacing varies. Most walls use 16-inch on-center spacing, but 24-inch spacing shows up in older homes, mobile homes, and some exterior walls.
- Obstacles look like studs. Joint compound, corner bead, plumbing pipes, and double drywall layers all feel solid when you tap them.
- Plaster walls are different. In older homes, plaster over wood lath can fool both tapping and some electronic tools.
None of that means you need a gadget. It just means you should use more than one method and treat your first result as a guess until a second method agrees.
How to Fix It
1. Use a magnet to find the drywall screws (free)
This is the most reliable no-tool method. Drywall is fastened to studs with screws or nails, and those fasteners sit in a neat vertical line along each stud.
- Grab the strongest magnet you own. A rare-earth magnet from a cabinet latch or an old hard drive works best.
- Move it slowly in a horizontal line across the wall, about chest height.
- When it grabs and holds, mark that spot with a pencil.
- Move the magnet up and down from that mark. If you feel repeated grabs in a vertical line, you have found a stud.
- Measure 16 inches left and right. If you get another grab there, you have confirmed the spacing.
2. Tap and listen (free)
The classic knock test works, but it is a rough tool. Tap with a knuckle or the handle of a screwdriver and listen for a dull, solid thud instead of a hollow echo. Move in small increments, about an inch at a time. Once you hear a change, tap in a tighter pattern to narrow the spot. Treat the result as a starting point and confirm with a magnet before you drill.
3. Probe near electrical outlets (free)
Outlet and switch boxes are almost always mounted on the side of a stud. Remove the cover plate, and look at which side of the box the stud is on. Then measure 16 inches from that stud to find the next one. This is a fast way to establish a reference point for the whole wall.
4. Check baseboards and trim (free)
Baseboards are nailed into studs. Run a magnet along the top edge of the baseboard, or look for small filled nail holes. Those holes usually sit directly over studs. The same trick works on door and window casing.
5. Use the 16-inch rule to predict, then verify
Once you locate one stud, measure 16 inches to the next. Mark it, then verify with a magnet or a thin test nail. If the wall was framed at 24 inches, adjust accordingly. This turns a search into a quick check.
6. Use a stud finder when accuracy matters
If you are mounting a TV, a cabinet, a heavy shelf, or anything that could hurt someone if it falls, guessing is not worth it. A stud finder gives you a clear center point in seconds and reduces the chance of hitting a wire or pipe.
Products That Help
7-in-1 Stud Finder Wall Scanner Detects Wood, Metal, AC Wires, Joists

This is a multi-mode electronic scanner that detects wood studs, metal, and AC wiring, plus joists. The multiple modes are the main draw: you can scan for studs, then switch modes to check for live wires before you drill.
Pros:
- Multiple detection modes in one tool
- Can flag AC wiring, which is a real safety benefit
- Useful for both walls and ceilings
Cons:
- More modes means a longer learning curve
- Accuracy depends on a slow, steady scanning technique
Franklin Sensors ProSensor M210 13-Sensor Stud Finder, Live Wire Detection
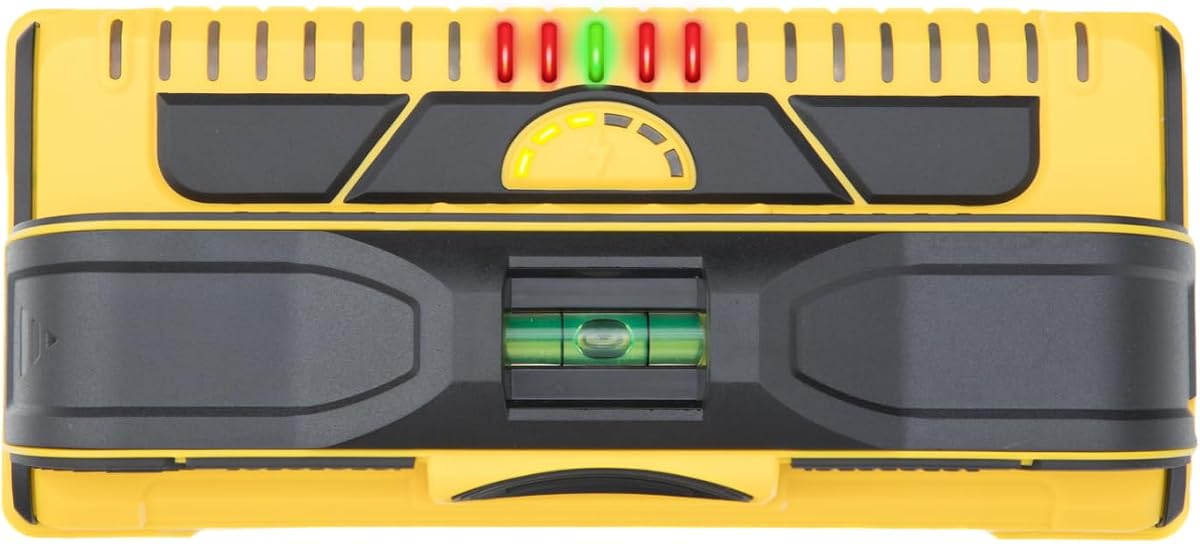
This model uses a row of 13 sensors to show the full width of a stud rather than a single blinking light. That makes it easier to find the center of the stud, which is exactly where you want to drive a screw. It also includes live wire detection.
Pros:
- Shows the stud’s width, so centering is easier
- Fast, one-pass scanning
- Live wire detection adds a safety check
Cons:
- Pricier than basic models
- Needs a flat, steady hand for the best reading
PREXISO 2-in-1 Stud Finder with Laser Level, Rechargeable Cross Line Laser
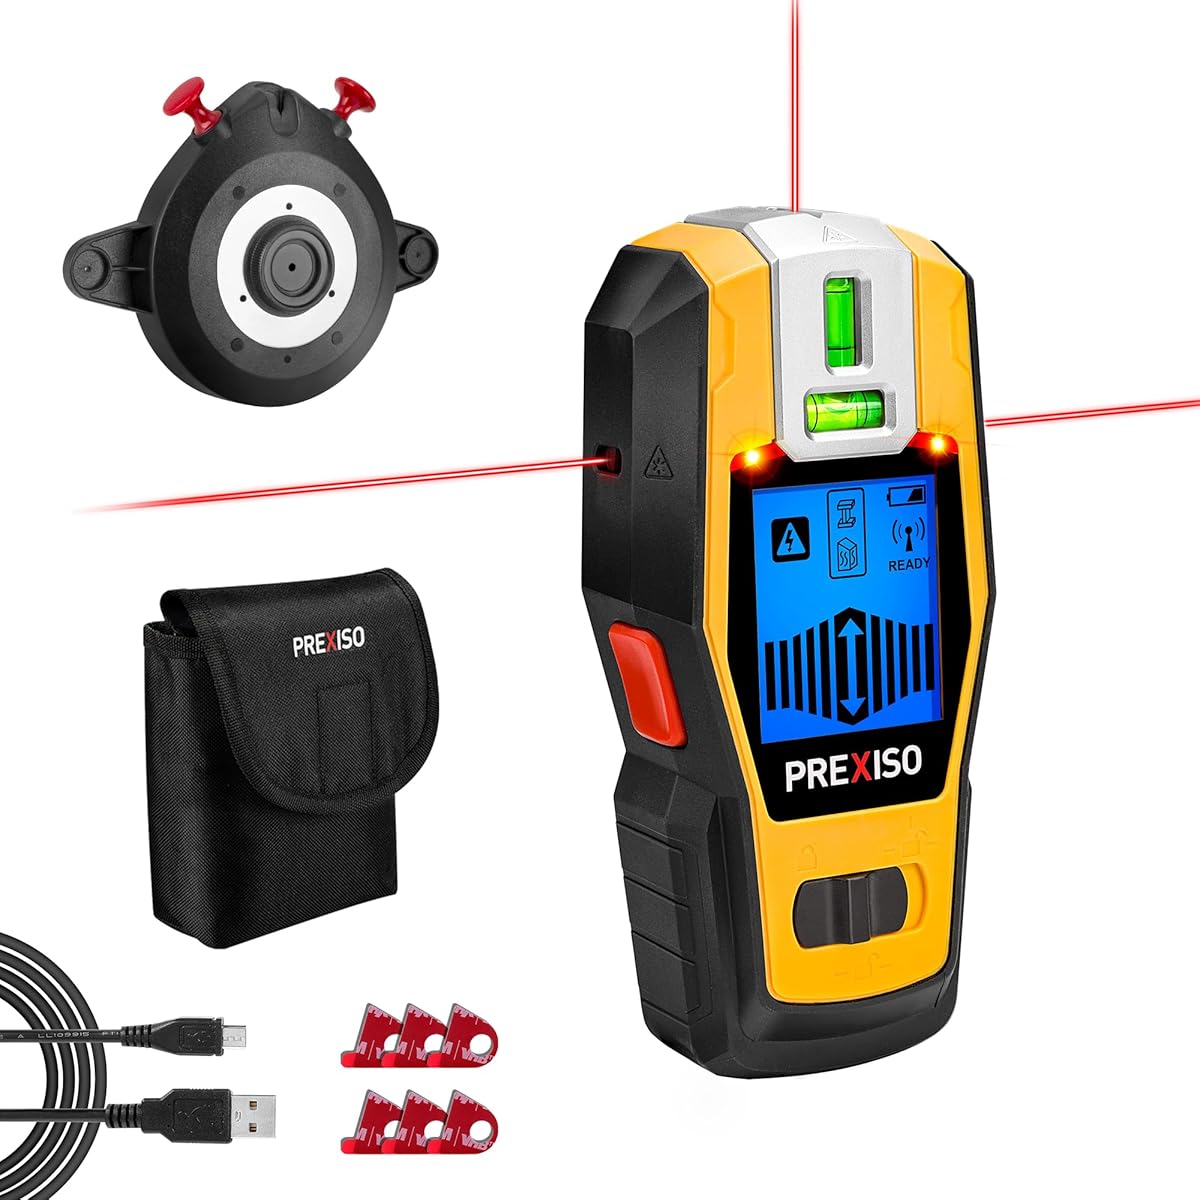
This combines a stud finder with a cross-line laser level, which is handy if you are hanging shelves, pictures, or a row of cabinets and want everything level. It is rechargeable, so no battery swaps mid-project.
Pros:
- Two tools in one for layout work
- Rechargeable battery
- Laser level helps with alignment
Cons:
- Laser adds bulk compared to a plain stud finder
- Overkill if you only need one hole in one wall
Stud Finder, Upgranded Wood and Metal Stud Detector, Live Wire Detection

A straightforward wood and metal stud detector with live wire detection. It is a good fit if you want a simple, single-purpose tool without extra modes or a laser.
Pros:
- Simple operation
- Detects both wood and metal studs
- Live wire detection included
Cons:
- Fewer features than multi-mode scanners
- Basic display compared to sensor-array models
What to Look For
- Detection type: Magnetic models are simple and battery-free but rely on finding fasteners. Electronic models detect density changes and work on more surfaces.
- Live wire detection: Worth having if you plan to drill or drive screws. It is a safety feature, not a gimmick.
- Stud width display: Models that show the full width of a stud make it much easier to find the center.
- Depth rating: Check how deep the tool can sense. Thick plaster or double drywall needs a stronger unit.
- Ease of calibration: Look for a model that calibrates quickly and holds its reading as you move.
- Battery type: Rechargeable is convenient; standard batteries are easier to replace in a pinch.
FAQ
Can I really find a stud with just a magnet?
Yes. Drywall screws or nails hold the drywall to the stud, and a strong magnet will stick to them through paint and texture. Slide a rare-earth magnet slowly across the wall in a horizontal line; wherever it grabs and holds, there is almost certainly a fastener and therefore a stud. Confirm by checking for a second grab about 16 inches away.
Why does tapping sometimes give me a false positive?
A solid-sounding spot can also be a patch of joint compound, a corner bead, a plumbing pipe, or a double layer of drywall. Tapping narrows the search area but rarely confirms the center. Always verify with a second method, like a magnet or a small test nail, before drilling.
How far apart are wall studs normally?
In most modern US homes, studs are spaced 16 inches on center, measured from the center of one stud to the center of the next. Older homes, some interior walls, and certain exterior walls may use 24 inches. If you find one stud, measure 16 inches in both directions to predict the next one.
Is it safe to drill a test hole to find a stud?
A small hole in drywall is easy to patch, but the bigger risk is what is behind the wall. Before drilling anywhere, check for electrical outlets, switches, and plumbing on that wall. Avoid drilling above or below an outlet box, and never drill into a spot where you suspect a wire or pipe.
Do I need a stud finder if I already know how to knock-test?
Not always, but a stud finder saves time and reduces guesswork, especially on textured walls, plaster, or walls with thick paint. If you are hanging something heavy, or mounting a TV or cabinet, the extra accuracy of a dedicated tool is usually worth it.
What is the difference between an electronic and a magnetic stud finder?
Magnetic stud finders detect the screws or nails in the stud, so they are simple and never need batteries, but they only work where fasteners exist. Electronic stud finders use capacitance or radar-style sensing to detect density changes in the wall, which works on more surfaces and can also flag live wires on some models.